Pay with Klarna
Free Carbon Neutral Shipping On Orders $75+, Plus Free Samples!
Pay with Klarna
Free Carbon Neutral Shipping On Orders $75+, Plus Free Samples!
If you’ve been keeping up with beauty trends you know that the slick back bun has become one to follow. Chic and easy to recreate, this ultra-sleek updo has a fan base of celebs and supermodels. Maybe it’s because this tightly pulled style accentuates cheekbones, providing an invisible contour and natural face lift. Or maybe it’s because it’s a timeless classic that works on all hair types and textures. If you're looking for a way to elevate your messy top-knot, we’re showing you how to do a slick back bun. Plus, breaking down all the tools, tips and products you need to know to master it.
The slick back bun is also called a ballerina bun, and you’ll need a few basic tools to help you achieve it. These things will help you get a sleek, polished hairstyle that stays in place throughout the day.
A bungee hair tie will allow you to wrap it around the hair multiple times before hooking onto the other end, allowing a better hold than standard hair ties.
Bobby pins are at the foundation of any good hairstyle, slick bun included. Especially if you have layers or short hair, these are a must.
A natural bristle brush is ideal for catching all your hair as you pull it back into a bun, leaving a smooth, bump-free finish.
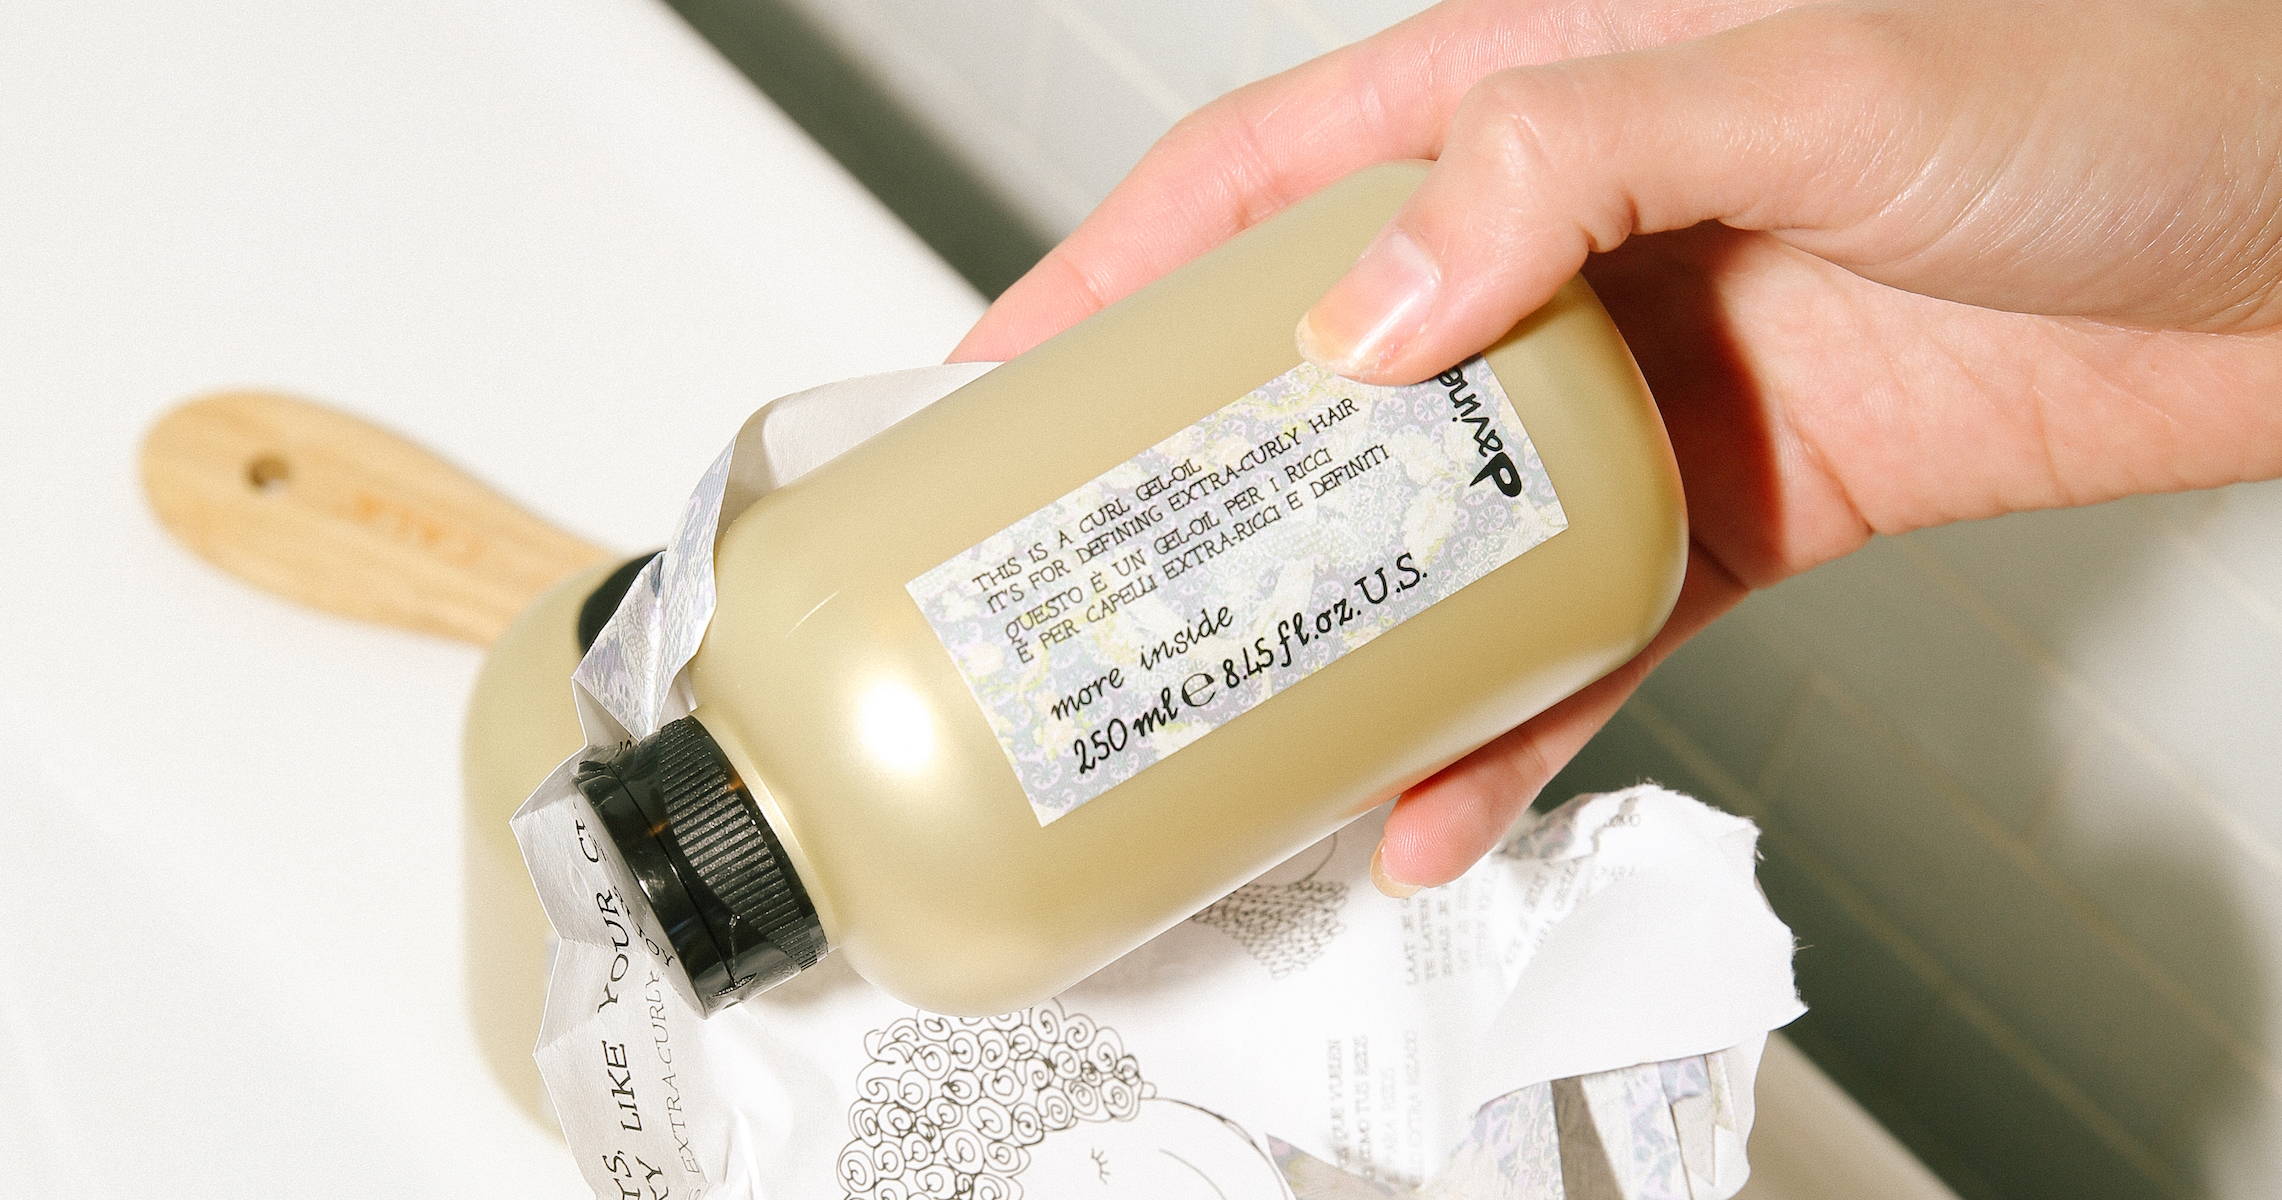
A hair gel or styling cream provides your strands with a medium hold to help set the base for your sleek bun.
Double up your slick bun with a hair mask treatment if your hair is very coarse, dry or damaged. Apply it through the lengths of your hair for a multitasking style.
A hair oil provides another layer of shine to strands that are freshly washed or too soft and slippery.
A hairspray that’s right for your hair type will help you smooth over flyaways around your hairline, adding lots of shine and hold.
This tutorial will tell you how to do a slick back bun.
Before you begin styling, decide if you would like your bun to have a side or middle part or if you’d rather slick your hair back completely. Once parted and detangled, if it’s not already, dampen your hair with a spray bottle.
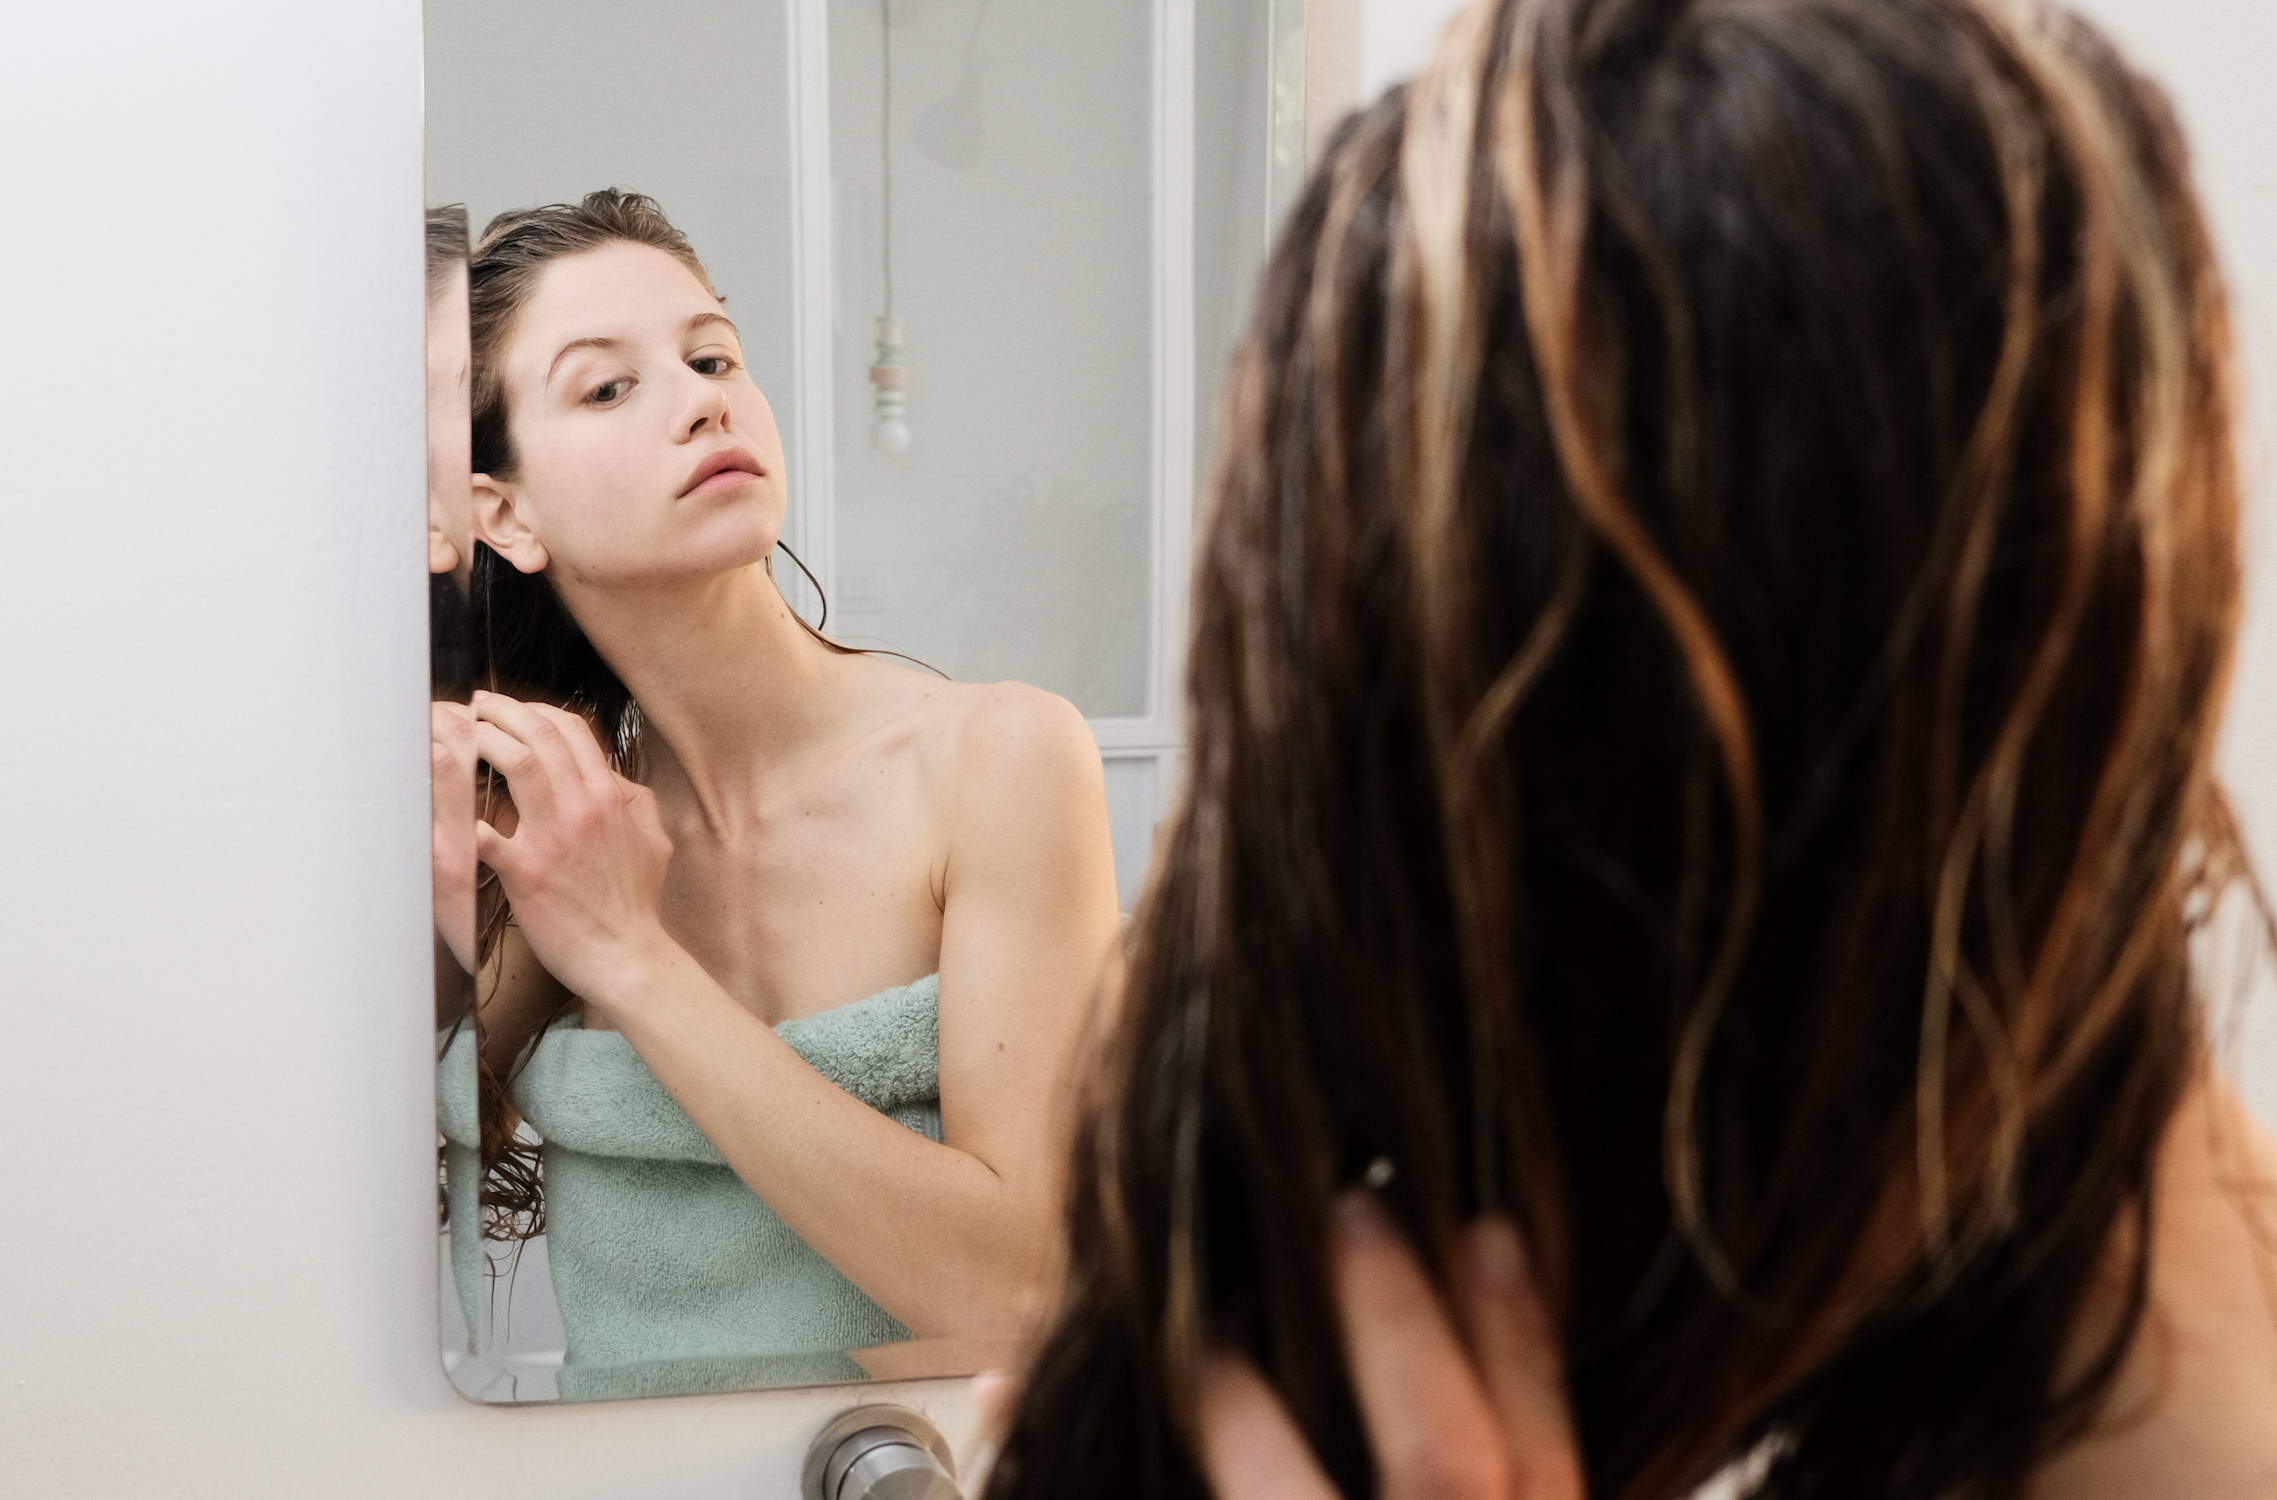
The key to the slicked-back bun is sleek, shiny hair. To get it, look for smoothing and shine-boosting products. You can use any styling products that work best for your hair type, including hair gel, leave-in conditioners and hair masks. Apply your styler generously by rubbing it into your palms and distributing it evenly throughout your hair from root to tip.
Next brush through your hair from your parting downwards, to make sure all the product is evenly dispersed. Smooth out your hair from roots to tips, following the direction that you would like your bun to be positioned. While you brush, gather and grip smaller sections of hair until you are holding all of your hair in one hand.
Run your fingers through any bumps, positioning your ponytail in the middle of the back of your head, don't go too high or too low in the nape. Tightly pull your hair back into a ponytail, ensuring your grab and grip give a tight pull on your temples. Secure your ponytail with a hair bungee, and use the palm of your hand to smooth down any frizz or flyaways.
Once secured, twist and bend the ponytail into shape winding around the hair bungee. Allow the hair to move in its own direction. Don't force it too much into a shape it doesn't want to go. Loosely twisting and wrapping the ponytail around its base will create the bun.
Periodically pin your hair with bobby pins as you're winding it down and around. Secure any thinner or shorter pieces that may fall out as you wind. Once you're happy with the shape of your finished bun, secure it in place with more bobby pins, making sure they’re all hidden.
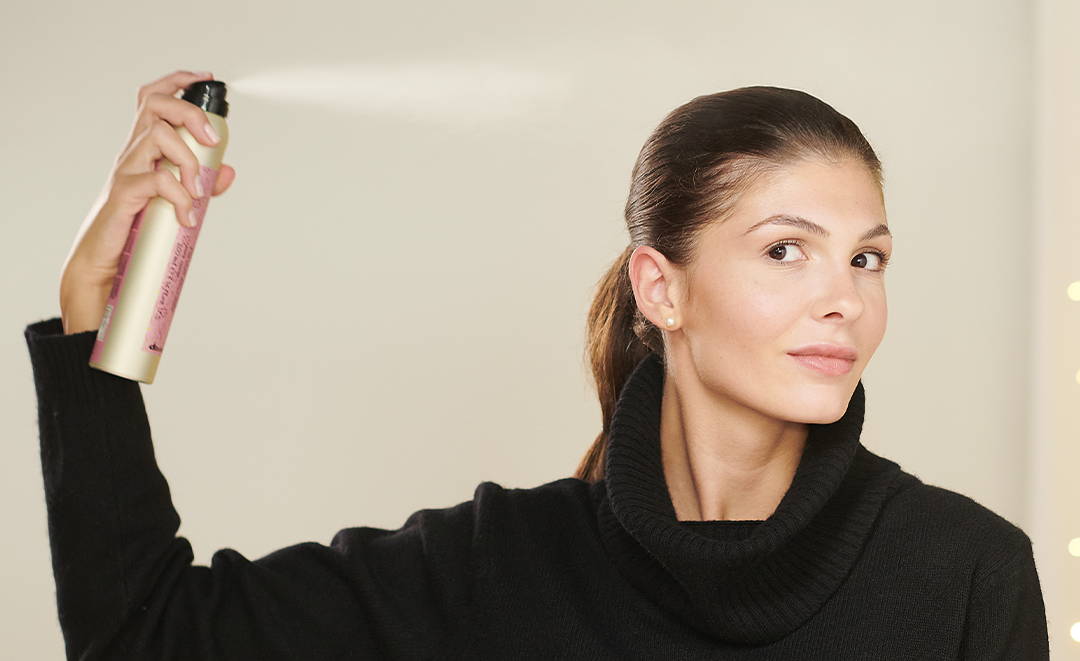
Spray your brush (or even a clean toothbrush) with hairspray and smooth any baby hairs or flyaways from your parting. Then, holding the hairspray several inches from the scalp, spray your entire head and continue smoothing strands back with your hands to set your slick back bun in place.
These styling hacks and tips will help you master the slicked back bun trend.
Typically we’d advise against styling your hair when wet, but when it comes to the slicked back bun, it's the very first thing you should do. The moisture in your wet strands will provide some grit, so you aren't pulling at your hair too tightly.
Hair ties rub the cuticle, causing irritation and breakage. Either from the material the tie is made of or when pulling the tie out. Use only hair ties that are made from smooth materials like silk or satin, so they produce less friction.
The best slicked-back bun looks are achieved on second day hair. Or third. Or fourth. Especially if you have thin hair, a little bit of grease and grit at the roots will help your strands hold their style.
If you can’t bear that greasy feeling and need to wash every day, or you happen to want to rock a sleek bun on a wash day, it still works. Start with a gel, and then layer in a hair oil to get a glossy effect. Use your hands to distribute both products evenly.
Nailing this look comes down to the lift and tightness of the bun. Once your pony is in place, the key is securing it with a strong hair tie that allows you to really yank and pull it tightly. Make sure the pony is properly secured so you won’t need to use any additional pins and the look will be more comfortable.
Always perfect your parting first for this look. Decide on taking it center or right off to the side. Make your part then mist on a buildable hairspray to set the part in place. Follow up with a pump of an oil or a serum, use your hands to guide your hair back behind your ears. Finish by securing your hair behind the ears.
Although the slicked back bun is the perfect weather and frizz-proof hairstyle, it may not be the best for the health of your strands if you do it too often. Since the hair is pulled back so tight, if done too often, it can lead to hair breakage or a receding hairline. Mix in looser styles or try a sleek low bun to minimize hair and scalp damage. And if you suffer from hair loss or alopecia, you should avoid the slick back bun and other tight hairstyles in general.
If you’re keeping up with trends you know that the slick back bun is one to watch. Chic and easy to recreate, this sleek updo has been around for decades, and it’s just as cool today. With a fan base of celebs and supermodels, you only have to open your social media feeds to see the trend everywhere. Maybe it’s because this tightly pulled style provides an invisible contour and natural face lift. Or maybe it’s because it’s a timeless look that works on all hair types and textures. It’s one of the easiest hairstyles to create, but it looks like you've put a ton of effort into it. If you’re wondering how to get a slick back bun, our tutorial, styling tips and product picks can help. Remember to use only high quality hair products to care for and style your hair. To speak with a professional or book a consultation, see a Davines stylist in your area.
by Jaclyn LaBadia, featured contributor
Subscribe
Sign up to hear about product recommendations, styling how-to's, tips & tricks, and more!
Plus, Free Shipping on your first order!
Join our newsletter to enjoy free shipping on your first order.
By submitting this form, you agree to receive the latest news, updates, promotions, and other marketing information from Davines North America, Inc. by email.
Leave a comment
Comments will be approved before showing up.