Pay with Klarna
Free Carbon Neutral Shipping On Orders $75+, Plus Free Samples!
Pay with Klarna
Free Carbon Neutral Shipping On Orders $75+, Plus Free Samples!
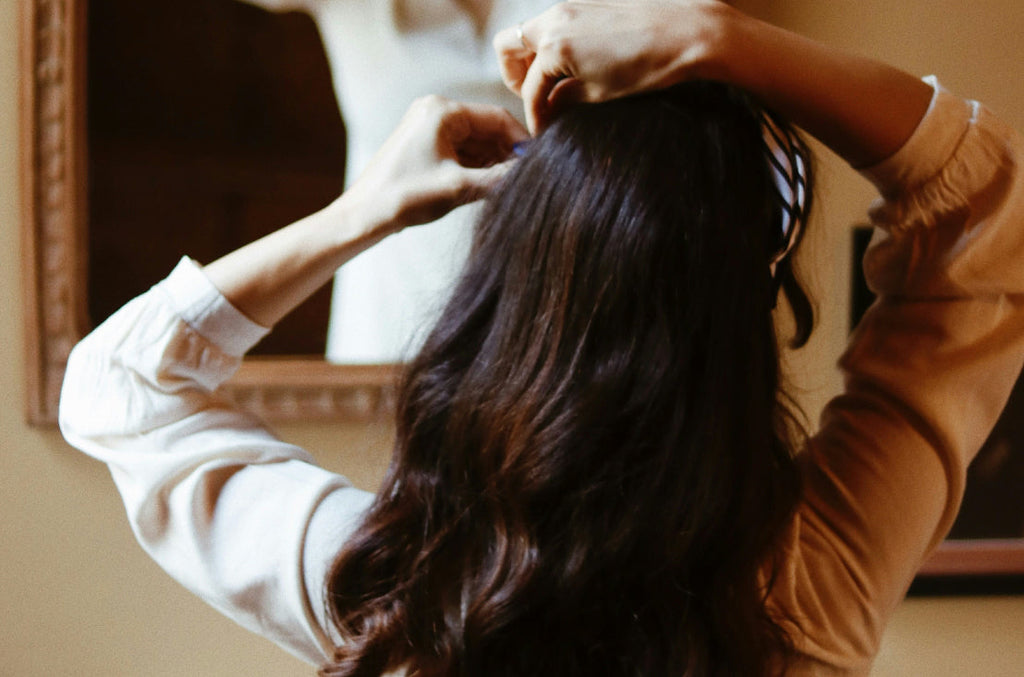
Braiding your own hair is a fun way to try out a new hairstyle and get creative while you’re hunkered down at home during the coronavirus. It’s also a way of practicing self-care during these stressful times. Learning how to braid your own hair can be a struggle for some, but practice makes perfect when it comes to braiding your own hair. We're giving you everything you need to teach you how to braid your own hair including the best tools, products, and hacks. Read ahead for a step-by-step guide to braiding your own hair.
Before we get started with the actual DIY, there are some things to note. Second-day hair is best for braids. If your hair is too clean, the braid won’t hold. If you’re planning to braid your hair damp right after washing, run an anti-frizz serum through your strands to keep them smooth. If you prefer to blow-dry before braiding, protect yourself from heat damage with a hair primer first. And if you’re already working with second-day hair that still doesn’t have enough grip, brush some brushable hairspray through to give it more texture. Be sure to completely detangle your hair before styling. Knots cause the hair to snag and tangle while you braid. A final tip if you’re looking to get a few days out of your braid- sleep with a silk scarf or on a silk pillowcase. The silk reduces friction, keeping your braid looking neater for longer. Now on to our favorite braids to try on your own hair.
The classic three-strand braid is simple and looks chic anytime. Start by dividing your hair into three equal sections. Flip the left section over the middle section. Now, flip the right section over the middle section (that was previously the left section). Keep repeating this by alternately flipping the left and right sections of hair over the middle section until you have braided till the end. Secure your ends with a hair tie.
If you can master the three-strand braid, you should move on to the French braid easily, which includes picking up pieces from either side of your head and adding it to the braid as you work. Start by gathering a top section of the hair and divide it into three equal parts. Braid these three sections once. Before continuing the braid, add a section of hair from the same side of your head and add it to the part of the hair that continues the braid. Then braid that one section. Then, repeat on the opposite side. Continue adding more hair to your braid as you move down your head until you reach the nape of your neck. Braid the remaining strands to the bottom and secure your ends.
This braided hairstyle starts by pulling your hair back into a ponytail. Rub a molding gel between your palms and run them through your pony to tame flyaways. Divide your ponytail into two smaller, equal-sized ponytails. Separate a half-inch section of hair from the outside of the left ponytail. Pull this piece across the top of the left ponytail over to the right ponytail. Next, separate a half-inch section of hair from the outside of the right ponytail. Pull this piece across the top of the right ponytail over to the left ponytail. Repeat this until you run out of hair. When you’re finished braiding, secure the ends with a second hair tie. If you used an elastic to hold your ponytail at the nape of the neck, cut it out and adjust your fishtail so that there’s no crease left by the elastic.
Also known as boxer braids, dutch braids work best on long hair. Start by parting your hair down the middle, using a comb to make sure it’s straight all the way back to the nape of your neck. Split your hair so there’s one section over each shoulder. Grab three small pieces of hair at your hairline. A dutch braid is basically the opposite of a french braid; you want to weave each piece under the braid rather than over. The piece on the right goes under the middle, and then the piece on the left goes under that. Repeat this pattern of crossing the right section under the middle strand, and then the left section under the middle strand. Keep adding more hair from the root every time you weave a new section. Once you reach the nape of your neck, switch to a regular three-strand braid. Tie it off at the end with a hair tie and repeat the process on the other side.
It doesn’t get easier than a twisted rope braid. It takes about two minutes to perfect this adorable braided hairstyle. Brush out all the knots and tangles in your hair and tie it into a high ponytail. Divide your ponytail into two sections. Twist these sections individually in a clockwise direction till the very ends. Intertwine these twisted sections with each other in a counterclockwise direction until you reach the ends and secure with a hair tie.
This braided hairstyle looks like it takes forever to master, but it’s actually super simple. Part your hair down the middle until you reach the nape of your neck, dividing your hair into two equal sections. Do a simple three-strand braid with the section on the right and tie up the ends with a hair elastic. Repeat with the section of hair on the left. Tug apart and loosen both braids to make them look wider and give them more dimension. Pull out a few strands of hair from the front to frame your face. Pick up your right braid, place it across the crown of your head and pin down its end wherever it falls on the opposite side of your head. Insert some bobby pins along the length of this braid to secure it firmly to your head. Repeat this with your left braid, making sure to tuck its ends under the right braid to hide it from view before pinning it to your head.
This delicate braid looks exactly like the name suggests — a waterfall of hair on the side of your head. Start with a side part and from the side of your parting with more hair, pick up a section of hair from the very front and divide it into 3 sections. The section closest to the top of your head is your top section, then there’s the middle section, and the section closest to your ear is the bottom section. Do a simple three-strand braid for one stitch. Now, leave the bottom section and pick up a new section of hair from right next to it to flip over the middle section. This creates a waterfall effect. Add more hair from the top of your head to the top section before flipping it over the middle section. Repeat this until your waterfall braid has reached the back of your head. Do a simple braid for three or four more stitches before pinning down the braid at the back of your head.
There’s not a single time or place where a braided hairstyle won’t make you look completely chic and put-together. So take the time in quarantine to master a new skill and learn how to braid your own hair and rock one of these braided hairstyles to your next zoom meeting!
by Jaclyn LaBadia, featured contributor
Subscribe
Sign up to hear about product recommendations, styling how-to's, tips & tricks, and more!
Plus, Free Shipping on your first order!
Join our newsletter to enjoy free shipping on your first order.
By submitting this form, you agree to receive the latest news, updates, promotions, and other marketing information from Davines North America, Inc. by email.


Leave a comment
Comments will be approved before showing up.