When we talk about “salon-worthy hair,” different ideal images come to mind: glossy shine, freshly-trimmed ends, and frizz-free smoothness are all reasons to pay your local salon a visit, especially after months of quarantine. But while the right products can help you tame and style your hair at home, the art of the perfect blowout is one skill that can (unfortunately) elude many of us — there’s a reason why blowout-only salons like “Drybar” exist, after all.
So why is something that seems so straightforward considered such a hassle? There are a few potential reasons: you might be using the wrong products, over-twisting the brush, or just blasting your hair with hot air instead of strategically sectioning. So while it’s not a totally effortless style, you just need the right plan of attack to get that salon-worthy look. The perfect blowout will leave you with a glossy, frizz-free hairstyle, which can be extended for several days with the right finishing touches — so let's discuss how to easily achieve it in the comfort of your own home.
Before we can dive right into styling, you need to make sure you’re stocked up with the right tools.
Now that your tools are fully prepped, it’s time to start the blowout process.
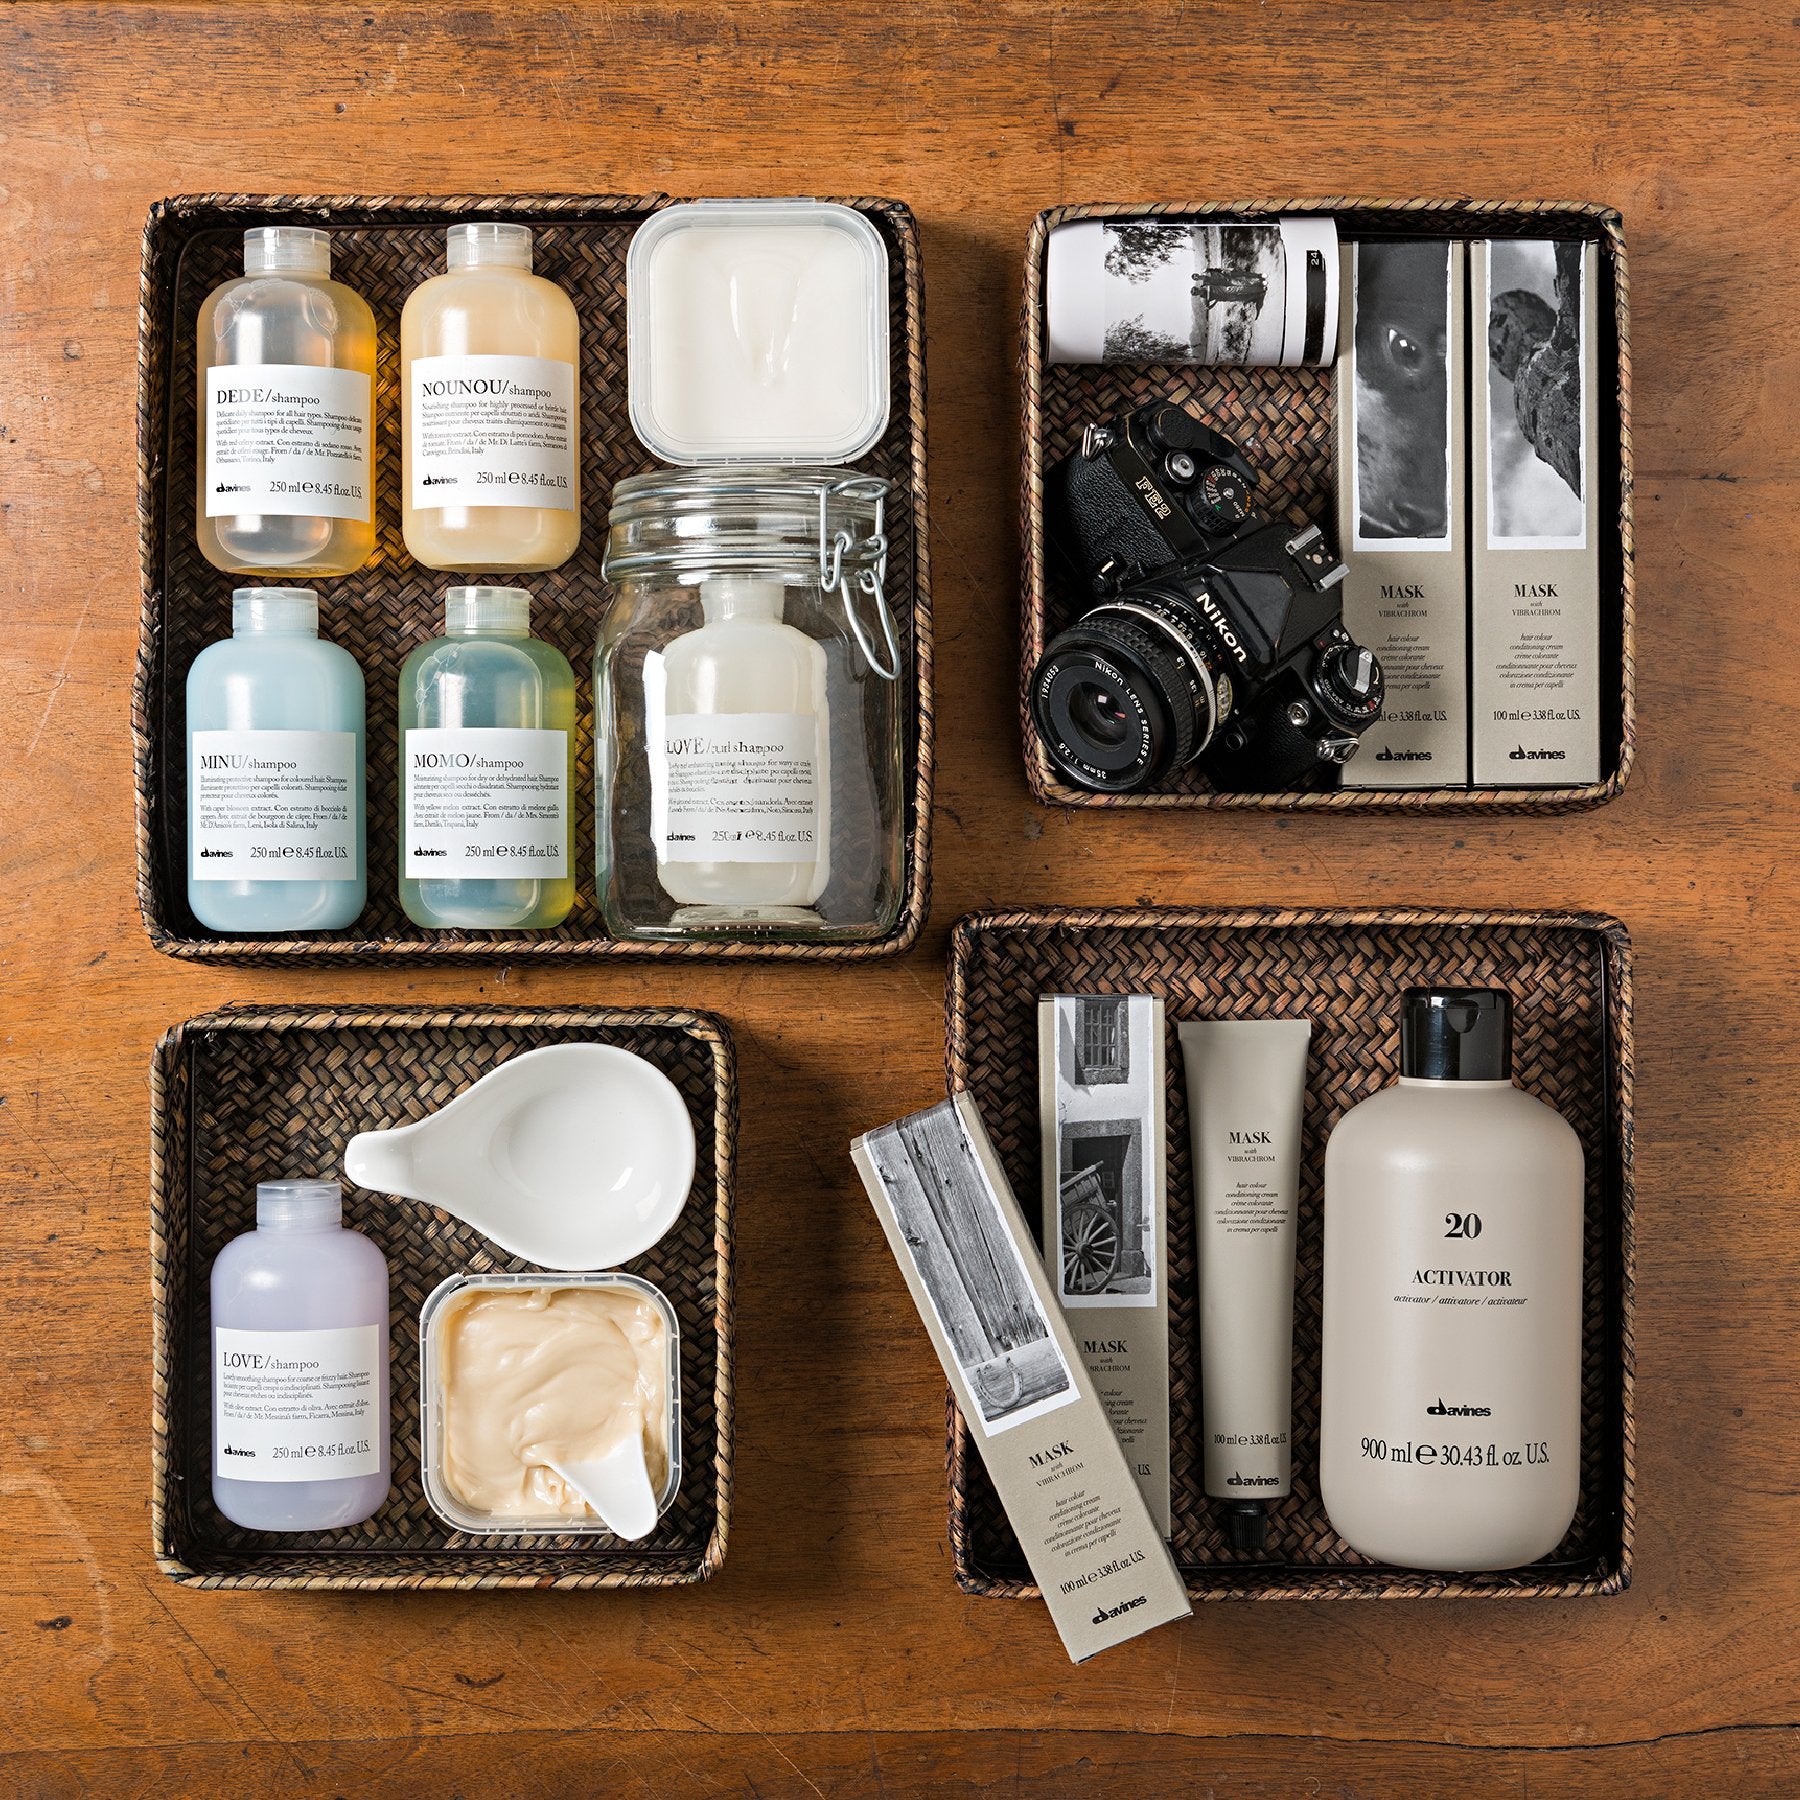
The perfect blowout starts in the shower! Generally, you’re going to want a shampoo and conditioner that work with your hair type, but also toward our end goal of voluminous, shiny hair. Fine or thin hair types can try a volumizing shampoo and conditioner for fine hair — these will help to protect and elasticize your hair, giving it a head start toward beautiful volume. To help you tame frizz and unruly strands, try a smoothing shampoo and smoothing conditioner, or a curl shampoo and conditioner if you’re looking to keep waves and coils looking their best. A renewing hair conditioning treatment is a great treat for all hair types; this conditioner stimulates your hair and scalp, helping to ensure the hair fiber is healthy, shiny and firm (without weighing it down). Those with dry hair might also want to swap in a hair mask instead of conditioner, to add an extra boost of nourishment and moisture. If you’re wondering how often to wash your hair, be sure to check out our blog post to find the perfect schedule for your hair type.
Excessive moisture is the enemy of a good blowout! Dab your hair with your microfiber towel to help absorb water, and help to cut down on the length of your total drying time.
After towel-drying your hair, protect it against heat damage by applying a heat shield for hair. And if you’re looking for a little extra volume, add in a volumizing mousse as well.
It may seem a little counterintuitive, but you don’t want to jump into blow drying your hair totally dry right away. When it’s wet, your hair is in its most delicate and vulnerable state — this means that any additional stressors can cause unwanted damage, leaving you with frizz or breakage, which is why many haircare experts recommend either letting your hair air dry for a bit, or “pre-drying” your hair. If you don’t have the time to let your hair air dry (and honestly, not many of us do), start by flipping your head upside down and rough dry your hair until it’s about 70% dry.
Using the sectioning clips, start by dividing your hair into four main sections: one up at the crown, two at your sides, and one in the back. Remember to blow with the dryer nozzle facing downward, to maximize the amount of smoothness and shine — and not to fry your hair on the maximum heat setting. Start at the crown: if you’re using a round brush, roll the hair around it as close to the root as possible, and hold it under the dryer for a few seconds. Then slowly pull the brush down your hair, making sure to follow along with the dryer as you go. Once you get to the end, wrap the hair around the brush and work upward toward your scalp, repeating this step. Repeat on each section until everything is fully dry.
For a glossy finale, make sure to finish by drying your hair on the cool setting. This will help the cuticle of your hair lie flat, meaning a sleeker, smoother shine.
And we’re not done adding on the sleekness and shine! The finishing creams and hair sprays you use should make your hair look glossy, but not weighed down: a small dab of smoothing cream or a light finishing hair oil will help to lock out frizz and lock in shine. If your hair is fine, thin or typically “falls” out of the style you choose, consider using a brushable hairspray as well.
Before I send you off into the world of at-home blowouts, make sure to be on the lookout for these common mistakes that can void all of your hard work.
Since a good blow out can thrive up to a week, make sure yours lasts as long as possible by avoiding touching your hair too often, and spritzing it with some dry shampoo if your roots are starting to look a little oily. And for additional at-home hair tips, check out our blog post where we asked the pros for their favorite recommendations to help you achieve your dream hair at home. Ready to test out some at-home, salon-worthy hair?
By Lauren Hannel, staff contributor
All photos by @karlibobarley


Laisser un commentaire
Les commentaires sont approuvés avant leur publication.